Showing posts with label ship. Show all posts

Tuesday, May 3, 2011

Tutorial Tuesday

This will be the last of the Satin Stitch Tutorials.  And the last Tutorial Tuesday for a while.  I'm trying to decide what to do next, and I'm coming up blank.  If there are any Hardanger techniques you'd like to learn, please let me know in the comments on this post.  Thanks!

So this week is a "sunburst".  This was a lot of fun, and really quick to stitch.  For a review of how to make the base shape, the Star, click here.

The arms on this sunburst curve to the left.  To make the arms curve the other way, do these steps backward. :)  (Text instructions for this are at the end - pictures are limited because this literally stitches so quickly that I forgot to take pictures in between!)

Start with a left-hand diamond - mine starts by covering 2 threads, and it covers 6 at the widest part.

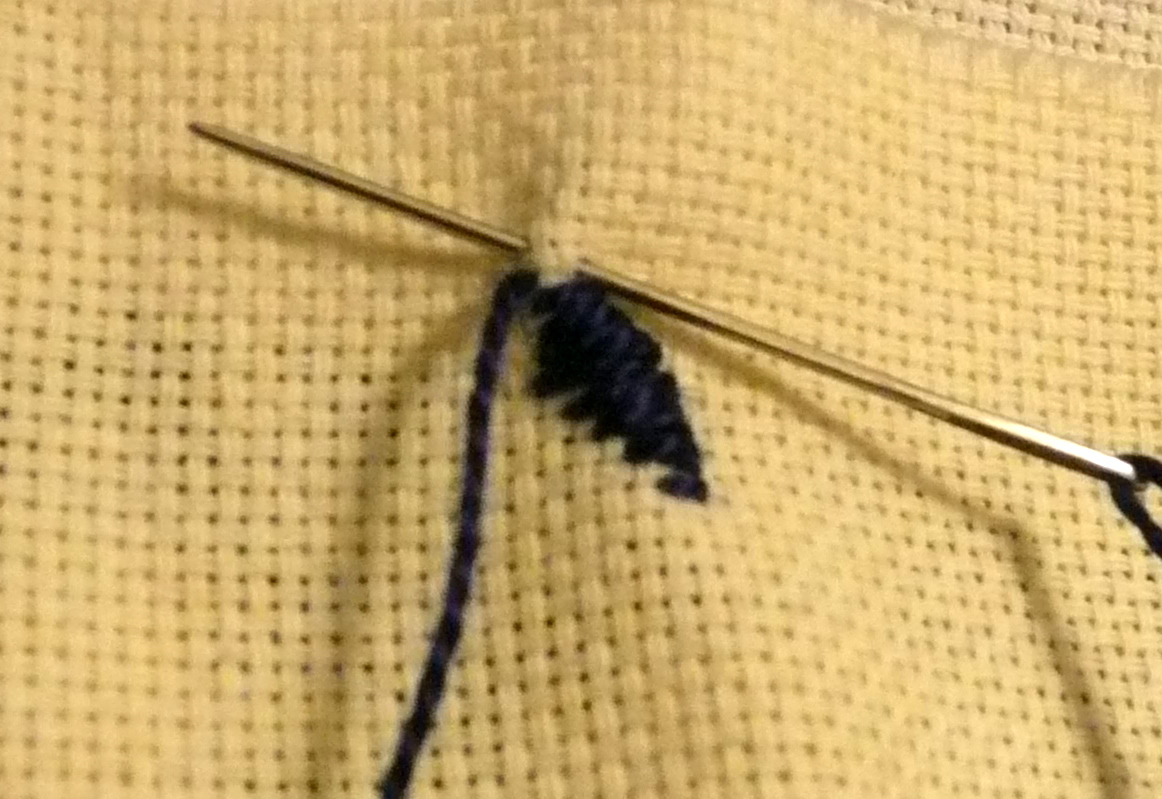
Run the needle behind the stitches, and come up 2 threads away from the right edge of the bottom stitch.  Work a right-hand vertical ship.

(To make a right-hand curve, start with the left-side vertical ship - curve to the right - then work the right-hand diamond.)

Run the needle behind the stitches and come up 2 threads down from the right edge of the bottom stitch (turning the corner).  Work 1 left-hand diamond and 1 right-side vertical ship on each side.  When it's finished it will look like:

If it goes the opposite direction, it will look like:

And a look at the whole Tutorial Sampler so far.  I want to do something interesting in some of the diamonds - instead of cutwork, I mean.  And I need to finish the wrapping and filling on the sides.

Tuesday, April 5, 2011

Tutorial Tuesday

This week I'll show you how to make a heart-shape out of 2 Ships.  (Again, click on the highlighted "ships" to go to the original lesson if you need a refresher.)  Here's the finished Heart:


Begin by stitching a left-vertical ship.  This time we're covering threads horizontally - begin with covering 2 threads.  Your longest stitch will cover 6 threads, then begin your decrease.  Remember to keep your right side (center) parallel as you're increasing, and your left side (outer) parallel as you're decreasing.


Make that long arm with 5 parallel over-2 stitches.  After the 5th stitch, bring your needle up 2 threads to the right and 2 threads above the previous stitch (leaving that blank).


Fill in your blank with a 4-thread stitch, then do your final 2-thread stitches in the curve.  Now you have a choice.  You can run your needle behind the threads as we've done before, and stitch the other side the reverse of what we've done.  Your other option - stitch from the top down.  To do this, bring your needle up 2 fabric threads to the right, but still parallel to your final stitch from the first ship.  You will then bring your needle down another 2 fabric threads to the right to make your "final" over-2 (except you're doing it first this time.)


Then you'll bring your needle up in the same hole as the edge over-2 from the previous ship.  Cover 2 threads to the right (away from the previous ship).


Now we skip our over-4 and work our top over-2 by coming up 2 fabric threads directly above where we brought the needle down.  On this ship we're stitching from left to right instead of right to left, so this will feel a little awkward at first.


Then work the over-4 we skipped, and stitch your 5 parallel stitches for your long arm


Begin increasing your diamond shape to the left (keep your right - outer - side parallel).  Your 5th stitch will cover 6 fabric threads.  Then begin your decrease on the right - your left (center) will be parallel, and will share holes with the first ship.  (Sorry, I didn't take pictures of all of this because it's the exact reverse of what we did before.)  Again, here's the finished Heart shape:


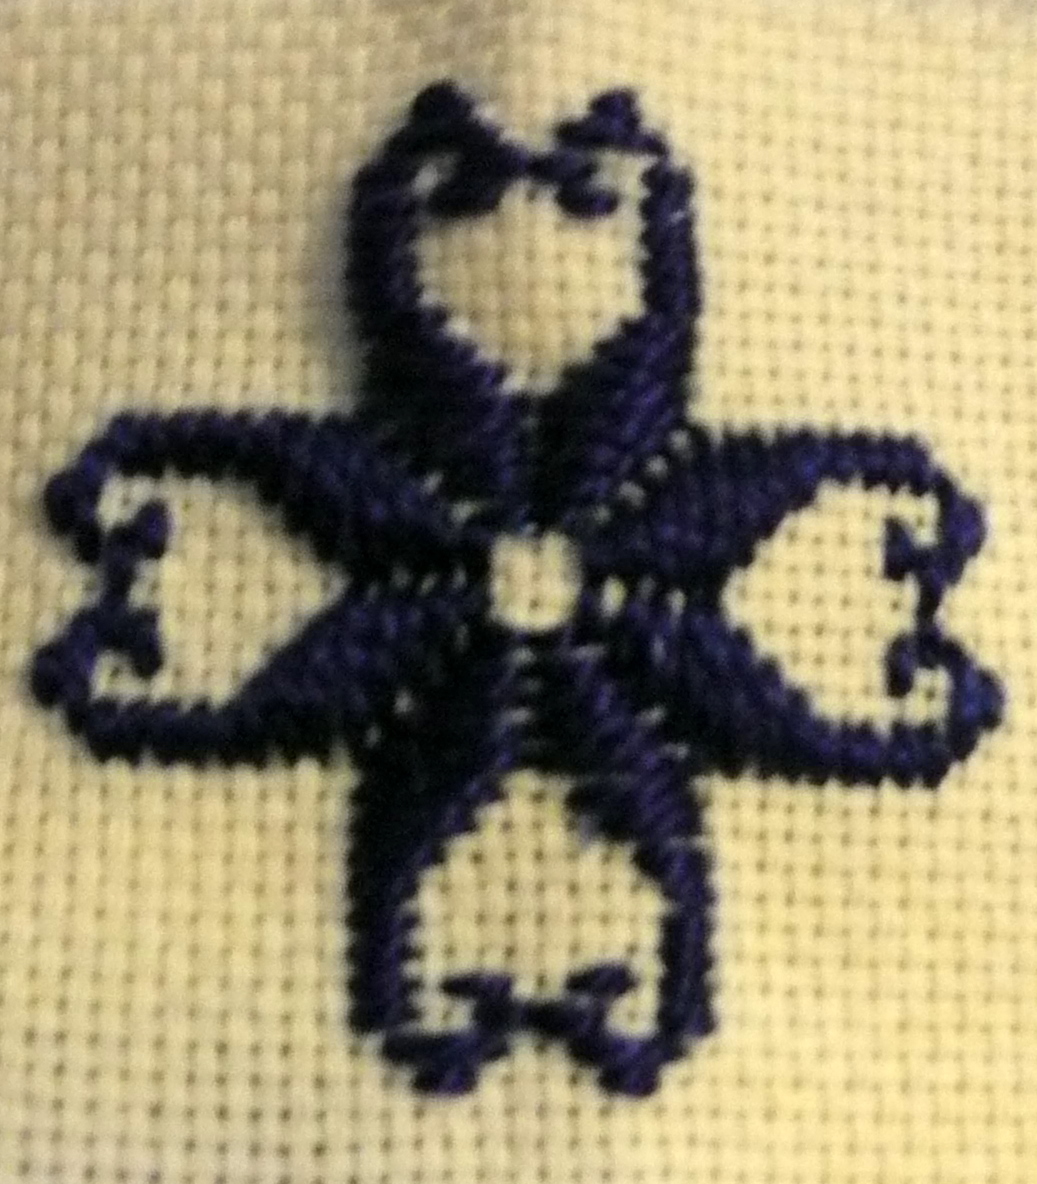
And the Heart Cross I promised you - you can see that by working up one side and down the other you'll position yourself to easily work the other sides of this motif, without wasting thread.  It also is conveniently 4 Tulips put together, so it would work well in a design that also incorporates Tulips.


And, finally, a look at the Tutorial Sampler so far.  I'm really enjoying putting these shapes together.  Believe it or not, this Hardanger piece was something I started in January of 2007 - I didn't know what to do with the big empty space after I did the Kloster framework!

Thursday, March 31, 2011

Tutorial Thursday

Hey, it kind of works.  Today's Ship variation - the Tulip!


Obviously, it gets it's name because it looks like a tulip. :)  You could easily incorporate this shape into cross-stitch pieces to add a little different texture.  I love to do that.

This is really just 2 ships stuck together.  If you need a refresher in creating the left-flat Ship, click on the highlighted "Ship" above.


After stitching the left-flat ship, run your needle under the stitches, and come up 2 fabric threads to the right of the top of your first stitch (remember that these Star-based satin stitches create an open box in the middle).  You will increase each row to the left (toward the already-stitched ship) so your parallel stitches are on the right.


Then you'll decrease on the right, making your left side parallel - this is how we get that nice squared void in the finished picture.  (You may also notice that I painted my nails for you all.)


Work your 5 parallel over-2 stitches to elongate the arm UP, then begin your curve.  The curve goes away from the square-void, toward the center of what would be the star.  Remember to bring your needle up 2 threads to the right and 2 threads above the edge of your previous stitch.


Then fill in your space and complete your curve, and you're done!


Next week - Hearts!  And a very cool Heart Cross, and another look at the Tutorial Sampler!

Tuesday, March 22, 2011

Tutorial Tuesday

I hope you all enjoyed practicing the Ship last week!  If you haven't looked at last week's lesson, you will need to read it before attempting this week's.

So, I think I invented this variation.  I'm not sure.  I haven't come across anything like it on any Hardanger websites.  I was thinking about the idea of a scroll border, and pulled out my trusty graph paper to think it through.  Then I stitched it, and L-O-V-E-D the results.  I love it so much that I'm going to give you a look at the finished motif BEFORE I give you the stitching instructions.

See how much I love you guys?  I think it looks like a Viking ship on the ocean, thus the name.

Okay, so here we go (nervous typing).  I started by stitching the standard left-side, flat Ship (instructions here).  After completing the curve of the first Ship, I started the curve of the Ship that is reversed and to the left.  (Note: you could start with the "upside down" one if you were doing a whole row and didn't want to stop and start your thread.  I did that on the other side of the Tutorial Sampler.  But for teaching purposes, this is easier.)  To make it easier to understand, the "Ship" is in light blue, and the "wave" scroll is in dark blue.


Counting from the bottom of the final 2-thread stitch of the first Ship, bring your needle up one thread down and to the right.  Cover 2 threads (this will parallel the "outside" stitch from the first Ship).  Bring your needle up one thread UP and to the right and cover 2 threads (parallel the last stitch of the first Ship).


Then we do our skip to tuck the carrying thread:  Bring your needle up 2 threads down and to the right of the bottom of the previous stitch, cover 2 threads.  Then comes our 4-thread "fill-in-the-blank" - bring the needle up one thread down and to the left, and cover 4 threads.


Now we begin our long arm (working the Ship upside down).  Bring your needle up 1 thread down and to the left of the bottom of the previous stitch, cover 2 threads.  Make 5 parallel stitches.  Increase like a normal satin stitch diamond.  The final stitch of the "arm" is the first stitch of the diamond; increase each column by 1 fabric thread.  The fifth stitch will cover 6 threads.  Decrease in the same manner - your final stitch in the diamond will cover 2 threads.  You can stop here, or you can work another arm and curve to continue the scroll.


When designing with this border, remember that it is deeper than just the normal Ship or Star.  Count carefully to make sure you have enough room!  I love that this actually looks like the rolling waves of the sea.  I want to stitch this all the time, now!

Next week's variation - the Tulip!

Wednesday, March 16, 2011

A chart for yesterday's tutorial

Somebody's in charge of her computer this week, and I think that somebody is me!! :)

I know some of these things are probably easy to figure out, but I finally figured out how to get a PC Stitch chart into another format, so I can share my charts on my blog (or in other electronic formats)!  Combine this with figuring out how to add text to the pictures, and watch out, world! LOL

I hope this is helpful in figuring out the text and image directions from yesterday.  If you're like me and you need to see the whole thing at once to understand, then you may like this.  If it doesn't help you, then I'm sorry to confuse you!

Please let me know in the comments if it helps or not!

Tuesday, March 15, 2011

Tutorial Tuesday

It returns!  I have at least 3 weeks of pictures ready to go!

This week I'll expand on the satin stitch shape called the Star, and show you the next basic shape, the Ship.  It's called the Ship because it reminds people of the prow of a Viking ship.

There are a lot of variations in how to make the Ship.  I'll show you some of those, too, in the next couple of weeks.  I had fun yesterday playing with shapes AND the camera!  And then today, with the photo editing - adding text to the pictures for the first time!  I hope that will be helpful.

To get ready for this lesson, you may want to review the Star lesson.

The Ship follows the same increase and decrease pattern, and then has a longer "arm".  I always do things from left to right, so I'll show you how to do the left, flat Ship.  So we'll be stitching vertically, not horizontally.

Begin by covering 2 fabric threads, bottom to top.  (Remember to secure your thread end with each of these satin stitches).  Bring your needle up one thread to the left of the bottom, and cover 3 fabric threads (bring your needle down one row above and to the left of the previous stitch).  Continue to a total of 5 stitches (fifth stitch covers 6 threads) - each stitch should line up along the bottom, and increase along the top.  Decrease each row in the same way, but line up along the top, decreasing the bottom.  Again, your shortest stitch covers 2 threads.

Now we elongate the arm - work a total of 5 stitches over 2 threads (this includes the final decrease stitch).  It should look kind of like a shelf with a slide.

The next 2 stitches you can do in any order.  (I do them this way to avoid carrying thread on the back on top of my stitches.)  Counting from the bottom of the previous stitch, go down 2 threads and to the left 2 threads.  Make a 2-thread stitch from bottom to top (top of stitch is on the same row as bottom of previous stitch, with a space between).  Next, we're going to fill that space with a 4-thread stitch - bring your needle up one thread down from the bottom of the previous stitch and one thread to the RIGHT.  Bring your needle down one thread UP from the top of the previous stitch - you're filling in the space and completing the angle.
Just 2 stitches to go!  We continue working our way back from left to right.  Bring your needle up one thread down and right of the bottom of the long stitch.  Cover 2 threads.  Bring your needle up one thread up and right of the bottom of the previous stitch.  Cover 2 threads.  Done!!

Run your needle down the underside of the stitches to secure (if only stitching this part) or set up for more stitches.  To stitch a right, flat Ship, the instructions are the same.  Your diamond lines up along the bottom first, then the top, and the arm will elongate to the right, then curve back to the left.  If you want to stitch them together, skip 4 fabric threads before starting your other side:

Here's another way I like to stitch this shape - I think it kind of looks like a more complete "ship", with sails.  I just stitched the center portion like a normal Star.

Next week - how to use this flat shape to make a scroll border!!

Wednesday, November 17, 2010

Tutorial Wednesday

It just doesn't sound the same, lol.  I am feeling much better, thank you.  I even had a fun stop-in at my LYS, looking for the elusive blue and orange yarn.  She will order them for me, and I should have them by December 1.

In keeping with last week's Hardanger theme, here is a link to a post I did in the past about the star motif common in Hardanger.  This motif can be incorporated in any number of designs.  I know I promised a tutorial for the ship, and as I'm sitting here trying to write it, I realize I don't have the pictures for it that I was sure I'd taken.  So I will show you some examples of how I've used this motif instead.  A ship is basically a star with 4 funky arms.

This was my first attempt at understanding the directions I found.  You'll see that I put them together to make a cross shape.  To make an actual ship-shape, the "funky arms" should be on the side portions, with the star points at the top or bottom.

This shows another use for those "funky arms" - flowers!  You can also see what can be done by making only half of the star motif.

I am motivated now to stitch a ship and take pictures of it - I can't believe I lost those!!!

Tuesday, October 7, 2008

New Hardanger stitches I'll be covering soon

I'll be adding tutorials for eyelets and more things to do with satin stitches - stars and ships. These motifs can/may be worked into your SAL piece, but they also make a great addition to your stitch repertoire - they make everything look more finished.

I used a star as the center of my "Baroque" piece (on the left), and there are eyelets between the buttonhole edging and the Klosters of the same piece. I often use the ship motif to make an interesting looking flower.